I meant to post this on Sunday but I had great problems with my Internet connection, and then I've just not had a chance to sit down and get on with it since.
Anyway, I'm talking about last Saturday - although the day actually started on the Friday as I didn't sleep at all on Friday night (believe me, this took its toll later on in the day!!)
I was up at 5.45am (I didn't realize there WERE two 5.45's in the day!), showered, dressed and in the car and heading for Newbury train station by 6.45am. I was on my first train at 7.05am and on my way to West Sussex. I only had one problem with the trains -probably due to the wrong sort of rain on the line, so missed my connection at Redhill, but thankfully I eventually arrived at Haywards Heath just 30 minutes later than anticipated.
There I was met by the lovely
Alex (I sort of recognized her from her blog picture and was hoping I wasn't smiling like a mad person at a complete stranger!!) and from there we headed to the Glitter Pot where we met up with
Julie and
Sarah, who had made the trip from London and Surrey respectively. Michelle Saxon was there demonstrating the BIA and the Dreamkuts, and we all took notes as we all wanted to have a play with the BIA later on in the day. Having spent far too much money in The Glitterpot, we then headed off to
Alex's house for an afternoon of crafting.
We all decided to get lunch out of the way, but not before some great gifts were exchanged.
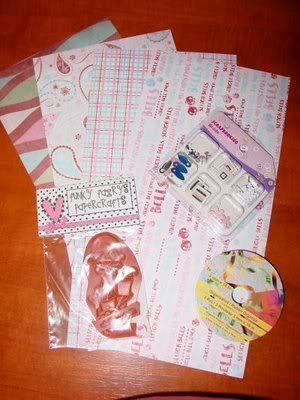
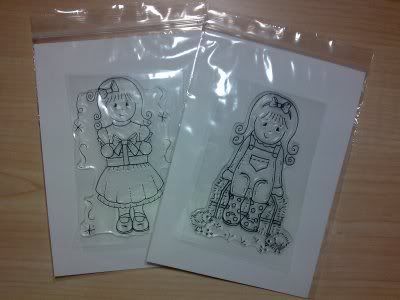
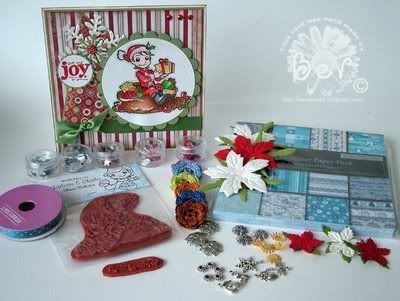
Alex gave us all some wonderful hand-made goody bags, each containing a lovely calendar, some stamped images from the new Magnolia Christmas collection, and some beautiful papers.
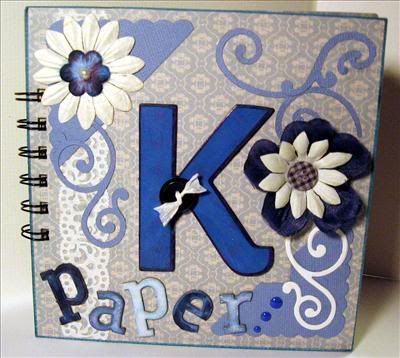
Julie had made us all a lovely book of papers, made with her BIA,
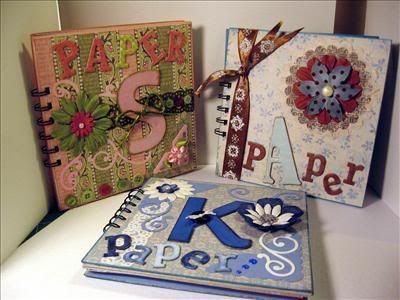
here is the book she gave to me:
and
Sarah gave us all a box of Belgian Praline chocolates (one of my favourites!)
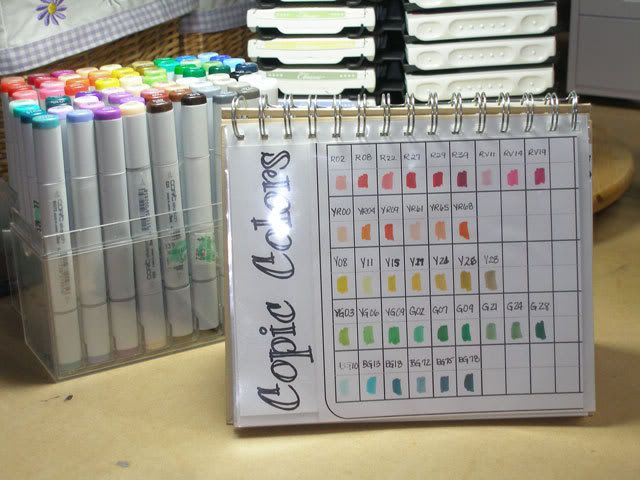
After lunch, we decided to make the most of Alex's graphic design background and get her to give us all a crash course on using the Copic Markers. When used properly, the effects really are amazing. The colours are so vibrant and they blend beautifully - but, only when done properly!! I think I'd want to practise a bit more before I committed to spending all that money on them.
After our colouring lesson, we all took advantage of
Alex's amazing collection of stamps and started stamping some images out. This was accompanied by a delicious Donauwellen cake that Alex had made herself, and reminded me of 'Kaffee and Kuchen' when I lived in Germany. I love all those rich German cakes and this was no exception.
Then, with the exception of
Julie who made a start on her calendar, we all started to make mini books following the instructions given by Michelle Saxon earlier in the day (although of course there's always one person who manages to mess their design up completely due to not paying attention - stop pointing fingers at me!! :}).
At about 5pm, my eyes started to get very sore and itchy, no doubt a result of the fact that I hadn't slept the night before!!
Unfortunately, the day had to come to an end.
Julie and
Sarah bid their farewells at 6pm and headed home. I stayed a bit later as my train wasn't until 7.30pm.
Alex dropped me off at the train station and we both expressed our hopes that we'd be able to do this all again!! I have to admit I really enjoyed the day and would love to do it all again, but it was a very long and tiring day!!
Thankfully all my trains were on time on the way home. I almost missed getting off the train at Gatwick but realized just in time where I was and managed to jump off. I didn't fall asleep at all on the journey home amazingly, and was picked up from Newbury station by my lovely hubby at 10.20pm.
If I ever manage to sort out my mini book I'll post a picture of it on here for you.


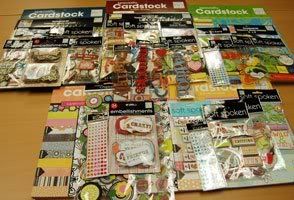
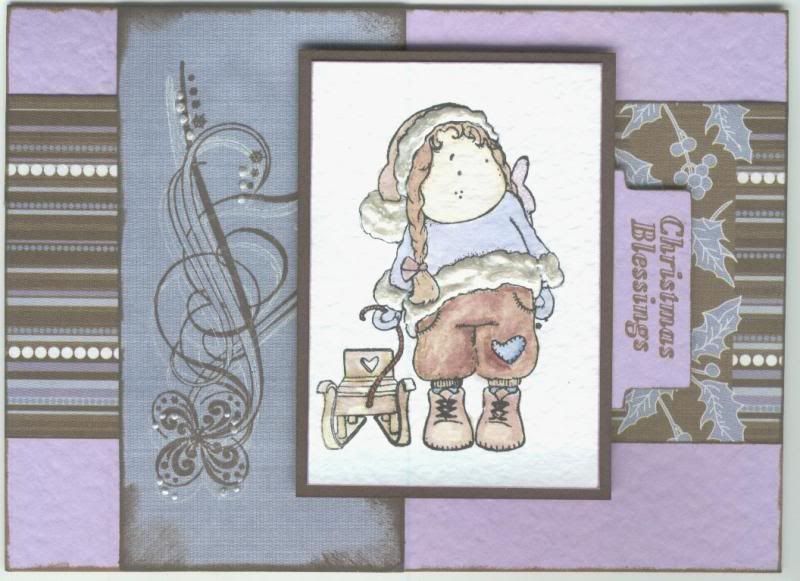 I love these papers from the HOTP Ultimate Christmas Cardmakers pack. The colours are beautifully matched and the designs are wonderful to work with.
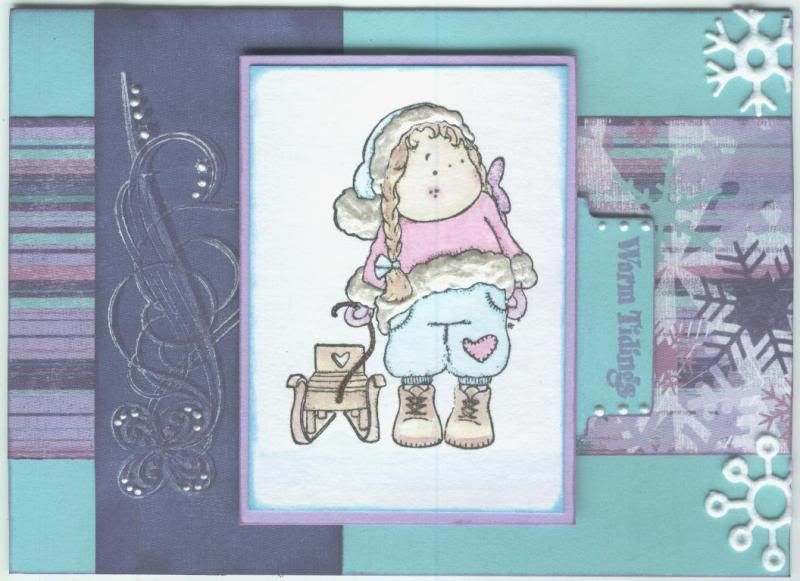 Tilda was stamped and watercoloured with Whispers Brushstroke markers, matted onto lilac card and highlighted with Craft Planet Lavender Glitter Glue (more on that later!) and Anita's Metallic White 3D dimensional paint.
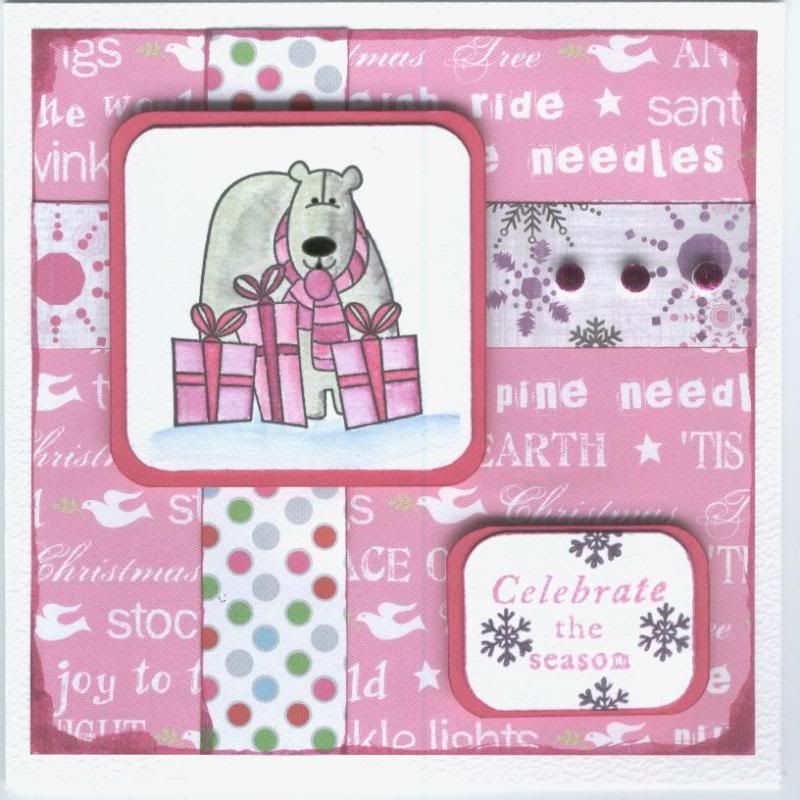 The Polar Bear image, from the See D's Christmas Fun stamp set, was stamped using Versafine Onyx Black ink and watercoloured using Whispers Brushstroke markers. A wash of pink Sakura Stardust pen was added to the ribbons on the presents and the polar bear's nose was coloured using a black Sakura Glaze pen.

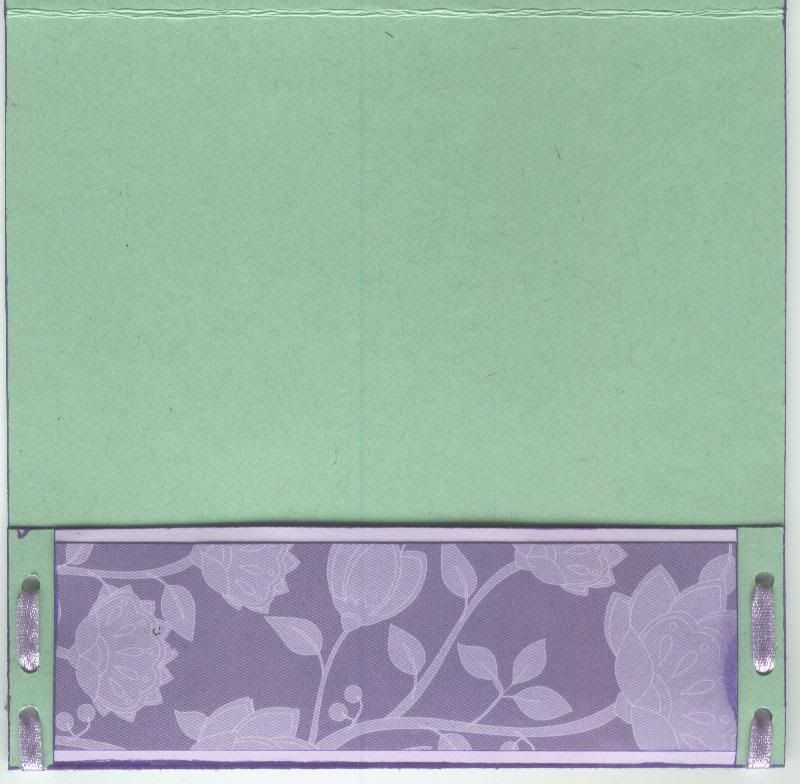 The pocket section on the inside was created by punching three holes down each side and lacing lilac satin ribbon through the holes and tying in a knot at the back.
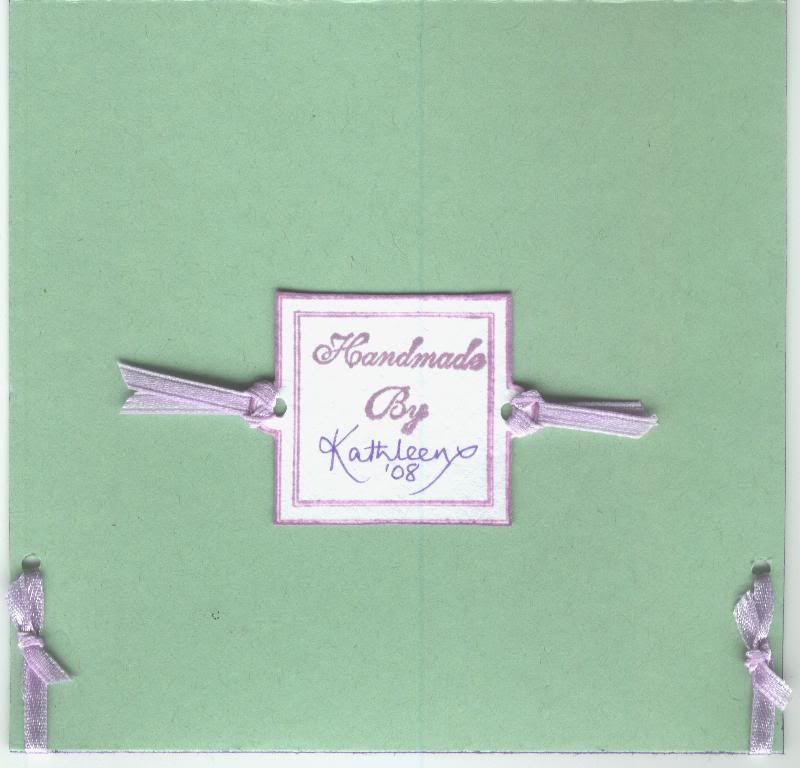 The reverse of the card was finished by stamping one of the bookplate stamps from the

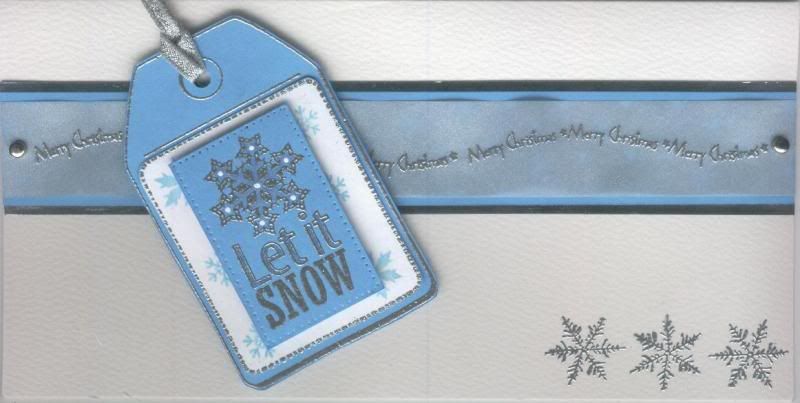 The first card I started with some lovely Aegean blue card, but having made up the tags I discovered I didn't have any blue patterned papers to complement the tag!!!
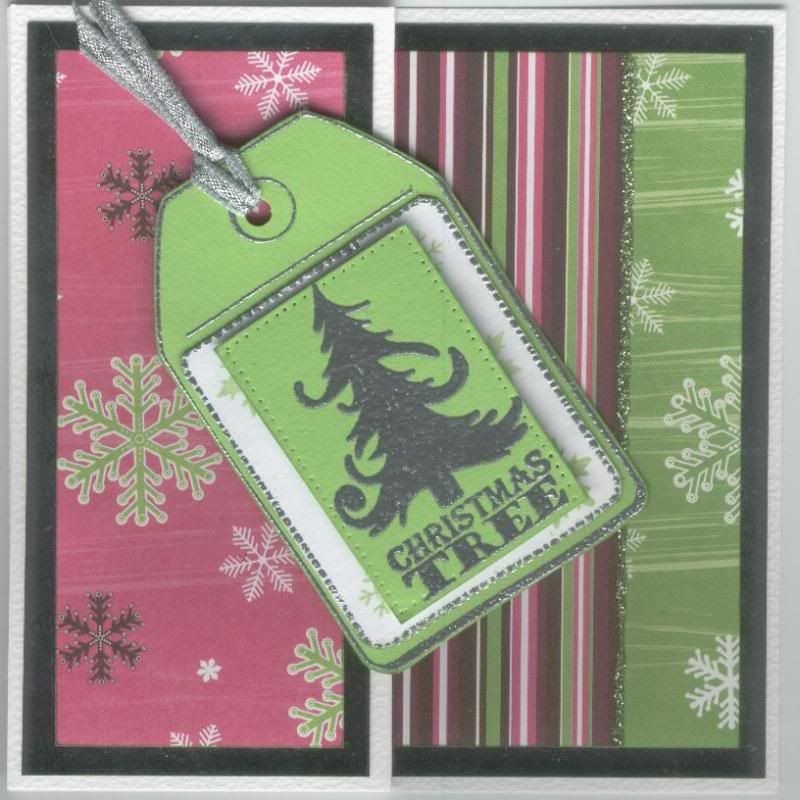 The tag was made in the same way as the blue one but with lime green card, the snowflakes were stamped using Whispers Savoy Green Permanent Dye ink, and the Christmas Tree image and text, also from the Papermania Let It Snow stamp set, was stamped using ColorBox Apple Green Pigment ink and silver embossed.
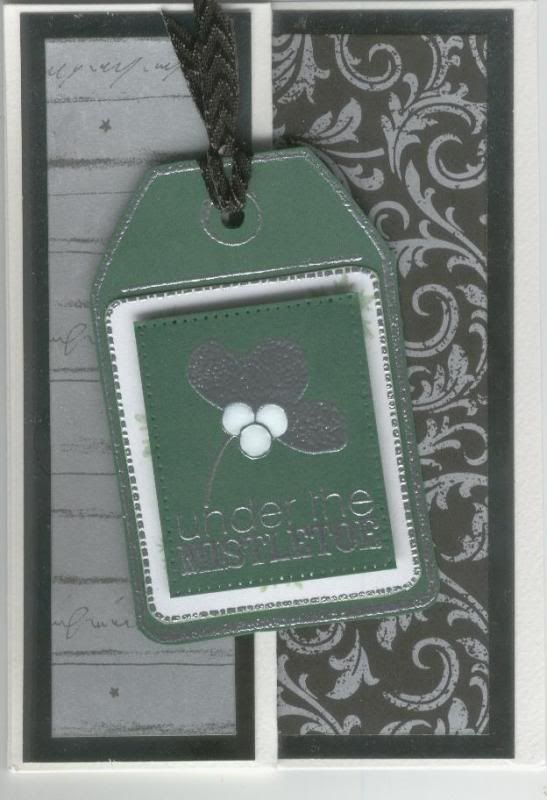 Again, the tag was made up in the same way using dark green card, but the snowflakes were stamped using Whispers Pine Green Permanent Dye ink and the mistletoe image and text from the Papermania Let It Snow stamp set was stamped using ColorBox Apple Green Pigment ink and silver embossed. The mistletoe berries were coloured using a white Sakura Souffle pen.
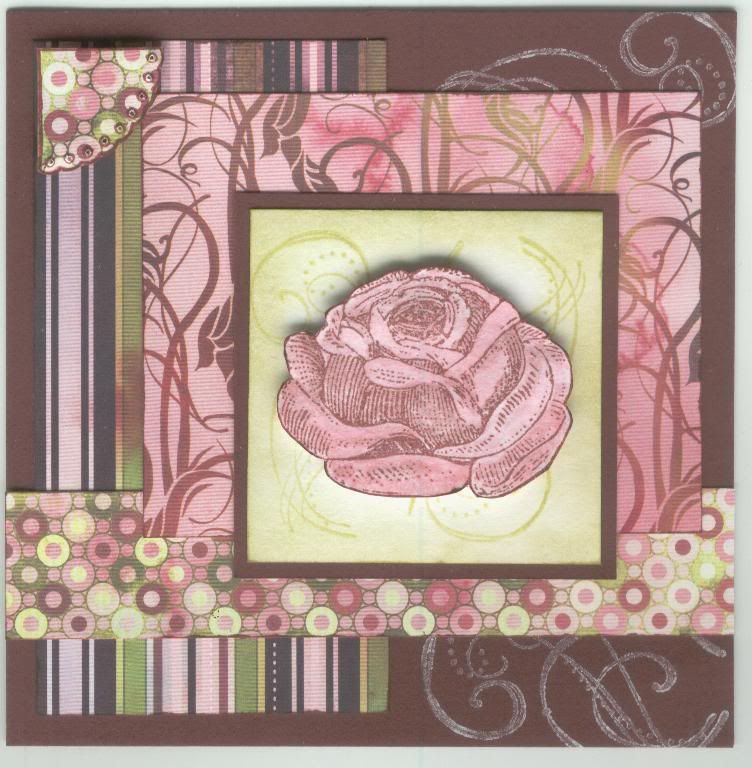

 To celebrate this new launch, she is offering a couple of the new stamps as blog candy


