I have often been asked the question "What is the best way to store paper and card?" especially by new crafters and so I thought I'd share with you the way that I store mine and the way I've done it since I started crafting nearly ten years ago.
The fact that I have stuck with it does seem to suggest that it works, at least it does for me.
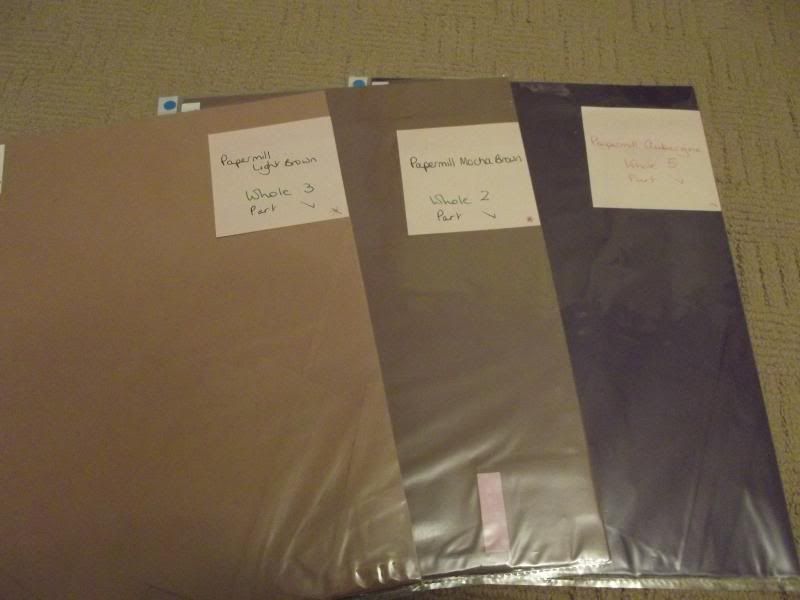
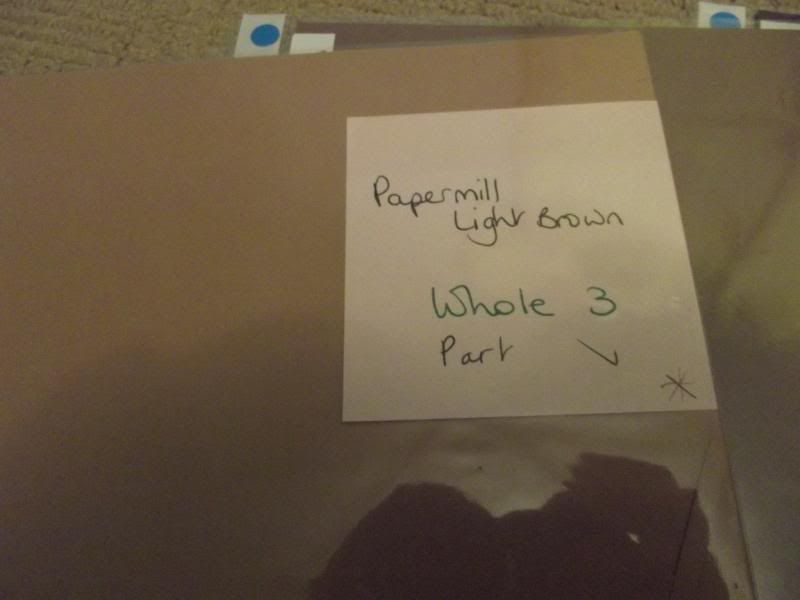
So, the majority of the cardstock I have was picked by me in the Papermill Shop and stuffed into a box. The cardstock didn't have a fancy name, so I gave it one! I'd separate out all the different types of card and paper and put each one into its own polypocket and write out a Post-It note with its new given name and how many full sheets of it I had.
Once it had been used, I'd also make a note of whether or not there were any offcuts.
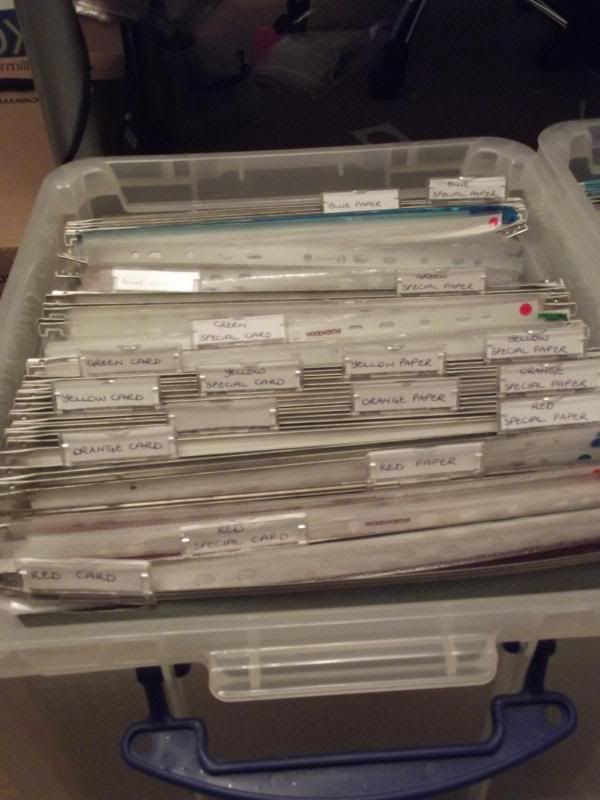
The polypockets were then sorted into colour families (red, orange, yellow, green, blue, purple, lilac, pink, brown, gold, silver, grey, black, white and cream) and then those were then sub-divided into card, special card (linen, hammer, pearl, other special finish or texture), paper and special paper.
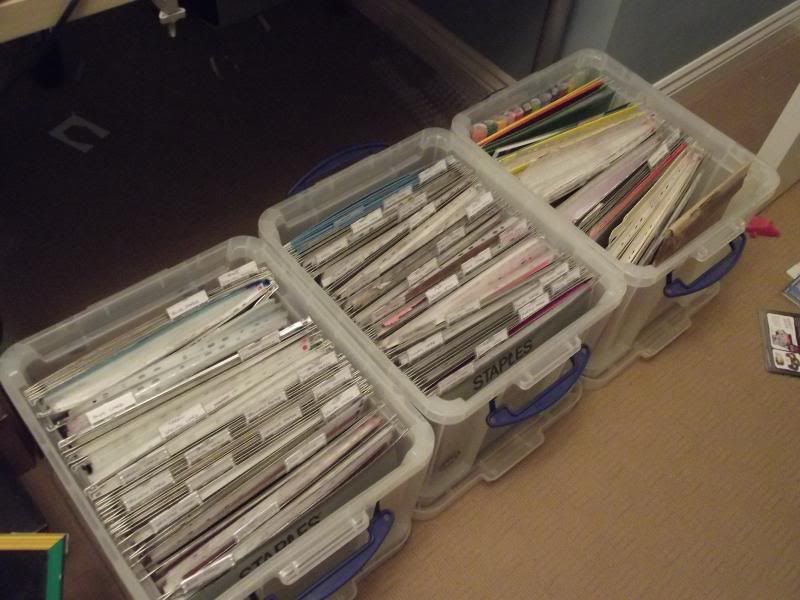
Each of these sub-categories were then given a foolscap suspension file and these were placed in 35litre Really Useful Boxes. These boxes have a section on the inside where the hooks of the suspension files can run, making them perfect!
I currently have three of the 35litre boxes and they live in front of my desk next to one another. The first box has red-blue, the second has purple-black and the third has white and cream.
I should mention that I also have larger boxes containing the cardstocks I mostly use for cardblanks, as there are too many sheets of those to store this way. They are to the side of my desk.
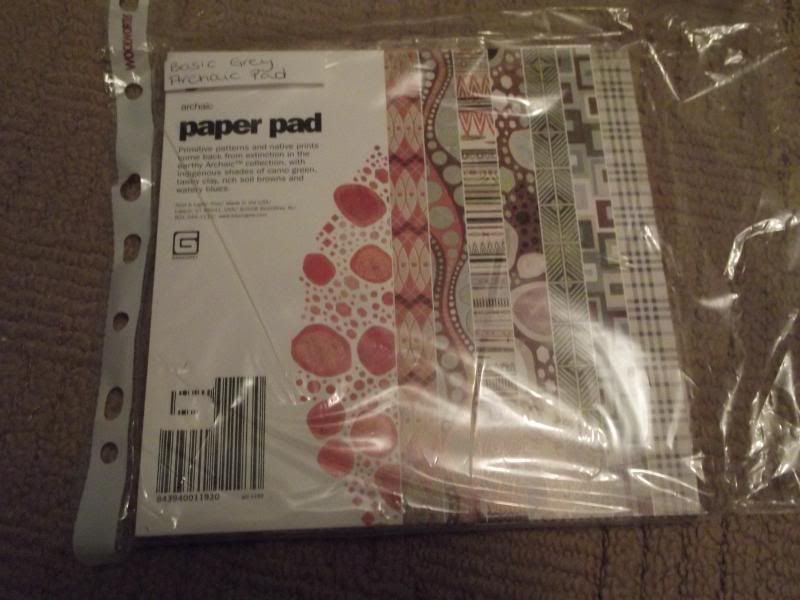
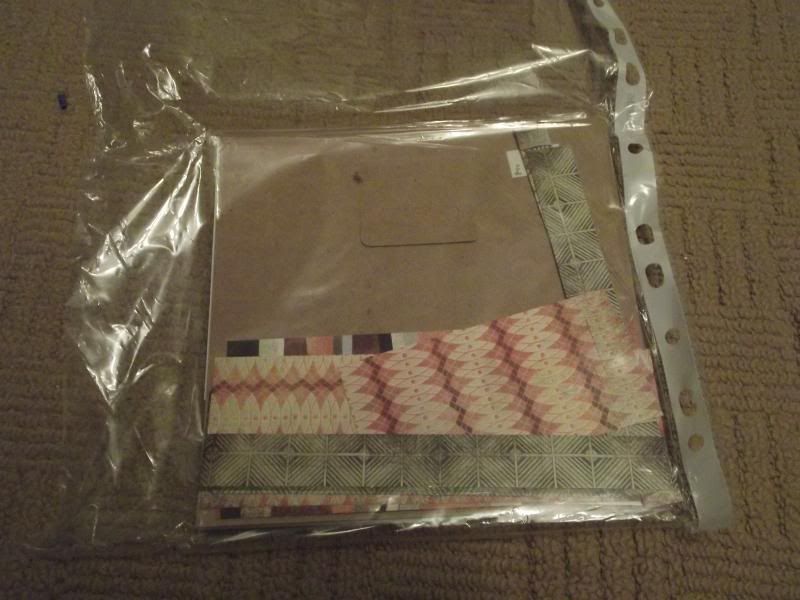
I also store my packs of patterned papers (6x6, 8x8, UK A5 and UK A4) in the same way. I put the pad or pack of paper into the polypocket and also put any offcuts into the back of the polypocket.
My patterned papers are then stored in cardboard CD and shoeboxes sourced from WHSmiths and Dunelm. You might also find them in Wilkinsons. They are the perfect size to store the pads stood up so that I can flick through them. I forgot to take a picture of them though! They sit on top of my rollcarts behind my desk on top of the drawers that hold my brads, eyelets and gems.
I have found that by putting the offcuts in with the full sheets of either cardstock, paper or patterned papers, I can look to see if I have a suitably sized small piece that I can use before cutting into a larger or new sheet. I keep any sized offcut that I think I can use in the future, whether that be a thin decorative strip or a panel that can be used for a small sentiment.
I hope this has helped you in your decision making process as to how to store all of your paper and cardstock and patterned papers.











2 comments:
You are sooooooo organised! If you fancy a trip up north to sort my madness, feel free x
wow so organised I do not have enough room to do this but if I had a bigger craft room. Love Alison xx
Post a Comment